Add self host derper in tailscale without domain certificate
A custom DERP server is a designated DERP server set up and managed by an organization or individual other than Tailscale for specific networking needs. DERP servers play a supporting role in facilitating connectivity between devices in a Tailscale network (known as a tailnet), primarily serving as a fallback mechanism when direct connections aren’t possible.
Install go
brew install go
Get derper
go install tailscale.com/cmd/derper@latest
Modify derper to disable cert verification
modify cert.go in ~/go/pkg/mod/[tailscale_version]/cmd/derper
func (m *manualCertManager) getCertificate(hi *tls.ClientHelloInfo) (*tls.Certificate, error) {
        //if hi.ServerName != m.hostname && !m.noHostname {
        //      return nil, fmt.Errorf("cert mismatch with hostname: %q", hi.ServerName)
        //}

        // Return a shallow copy of the cert so the caller can append to its
        // Certificate field.
        certCopy := new(tls.Certificate)
        *certCopy = *m.cert
        certCopy.Certificate = certCopy.Certificate[:len(certCopy.Certificate):len(certCopy.Certificate)]
        return certCopy, nil
}
Build derper
cd ~/go/pkg/mod/[tailscale_version]/cmd/derper
go build -o /opt/derper
Run derper
Generate self-signed certificate
Change derp.test.com to any of your derp server hostname
mkdir -p /etc/derp
openssl req -x509 -newkey rsa:4096 -sha256 -days 3650 -nodes -keyout /etc/derp/derp.test.com.key -out /etc/derp/derp.test.com.crt -subj "/CN=derp.test.com" -addext "subjectAltName=DNS:derp.test.com"
Create systemd service
modify /etc/systemd/system/derp.service
[Unit]
Description=Tailscale Derper Service
After=network.target
Wants=network.target

[Service]
User=root
Restart=always
ExecStart=/opt/derper -hostname derp.test.com -a :12345 -http-port 54321 -certmode manual -certdir /etc/derp --verify-clients
RestartPreventExitStatus=1

[Install]
WantedBy=multi-user.target
Start derper
systemctl daemon-reload
systemctl enable derp
systemctl start derp
Verify if the setup is successful
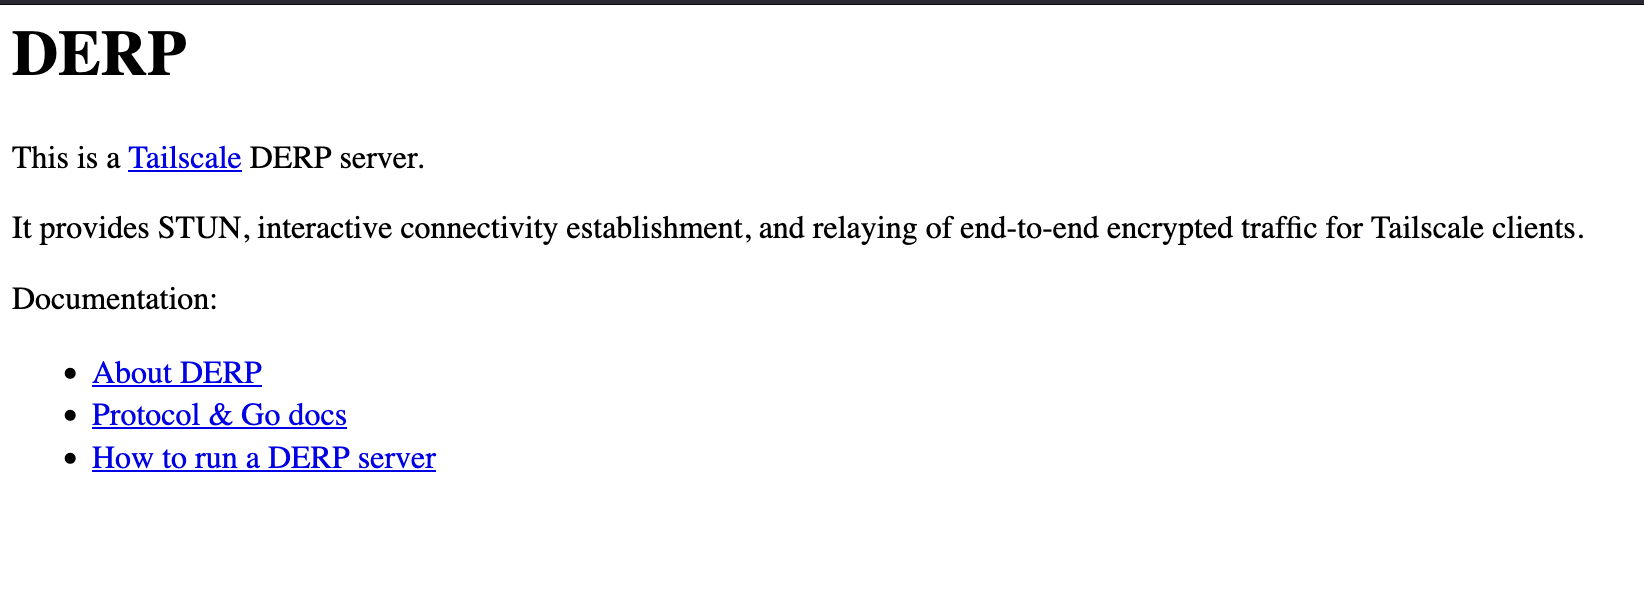
After starting derp service, you can access the following URL in your browser:
https://IP:12345
If you see the webpage shown below, it means the setup is successful. Here, IP is the public server IP recorded in the first step, and PORT is the port set in derp.service, which defaults to 12345.
Configure Tailscale client to use custom derper
Open the tailscale web console, and before the ssh entry in Access Control, paste the following content:
"derpMap": {
  //"OmitDefaultRegions": true,
  "Regions": {
   "900": {
    "RegionID":   900,
    "RegionCode": "test",
    "RegionName": "Test Derper",
    "Nodes": [
     {
      "Name":             "900a",
      "RegionID":         900,
      "DERPPort":         12345, // Change to your derper port
      "IPv4":             "192.168.1.1", // Change to your server private IP if behind NAT
      "InsecureForTests": true,
     },
    ],
   },
   "1":  null,
   "2":  null,
   "3":  null,
   "4":  null,
   "5":  null,
   "6":  null,
   "7":  null,
   "8":  null,
   "9":  null,
   "10": null,
   "11": null,
   "12": null,
   "13": null,
   "14": null,
   "15": null,
   "16": null,
   "17": null,
   "18": null,
   "19": null,
   //"20": null,
   "21": null,
   "22": null,
   "23": null,
   "24": null,
   "25": null,
  },
 },
Check if the client is using custom derper
tailscale down
tailscale up
tailscale netcheck
tailscale status
Reference
https://tailscale.com/kb/1118/custom-derp-servers
Some of the content is generated by AI, please be cautious in identifying it.